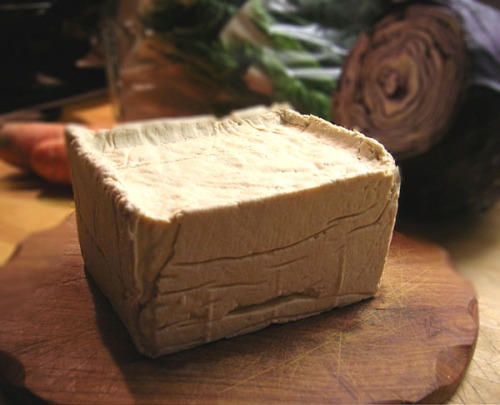
There is just no comparison when it comes to fresh vs. packaged tofu. The flavor as well as the texture are far superior! I find packaged tofu to be totally lacking in flavor and unpleasantly rubbery, while fresh tofu is creamy and smooth with a surprisingly pleasant flavor, although mild, all its own… and it’s definitely NOT rubbery. Another great reason to make your own tofu is that you’ll know exactly what is in it. Most soybeans these days come from genetically engineered crops, I don’t know about you, but I don’t want my soybeans, or any other food I eat, to be “engineered” thank you very much!
I won’t lie to you, there is some work involved but probably not as much as you might think. It takes me about 1 hour to make a batch of tofu which is time well spent in my opinion.
If you’re thinking that you’d like to make your own tofu but don’t think you’ve got the time, with the use of a soymilk machine you can cut the time down to just a few minutes! SusanV over at FatFree Vegan Kitchen has a great article on making tofu with a soymilk machine, you can check it out here. Since I don’t have a soymilk machine, I’ll show you how to do it the “old-fashioned” way :O)
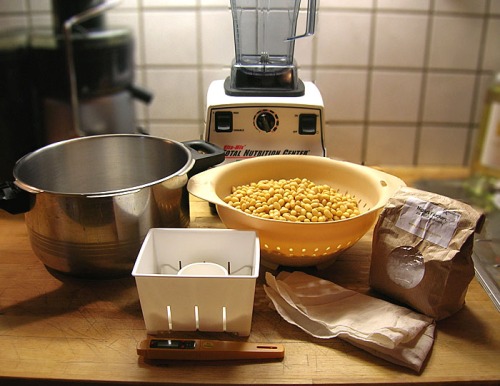
Here’s what you need to make tofu at ahome.
1. Soybeans – The most important thing to consider when buying dried soybeans is to make sure that you buy soybeans that are NOT genetically-engineered. Buy organically grown dried soybeans.
2. Coagulant – there are two coagulants that are commonly used to make tofu. Nigari (magnesium chloride) and gypsum (calcium sulfate). I use nigari salt. I don’t recommend tasting the nigari, it tastes nothing at all like table salt, trust me on this! Nasty…just plain nasty..lol! You can also use gypsum as I mentioned, but I just can’t bring myself to do it. Images of drywall dance in my head whenever I think about it.
3. Water
That’s all tofu is…soybeans and water mixed with a coagulant!
You will also need a blender, a large soup pot, a colander, a cooking thermometer, a tofu press (you can also use a colander to form the tofu if you don’t have a tofu press), a piece of cheese cloth or thin piece of muslin, a stone, jug of water or something similar for weight.
Homemade Tofu
400gm dried soybeans (approx. 2 1/2 cups)
13 cups water
2 tbls nigari or gypsum
The first step is to soak 400gms. soybeans in water for about 8 hours (or overnight). Rinse and drain them.
You are now going to blend together your soybeans along with 13 cups of water. Unless you have a gigantic blender, you’ll need to do this in batches. I add 1-2 cups beans into the blender and then add 3-4 cups of the water. You don’t need to measure exactly. Just so long as you use up all the beans and water during the blending process.
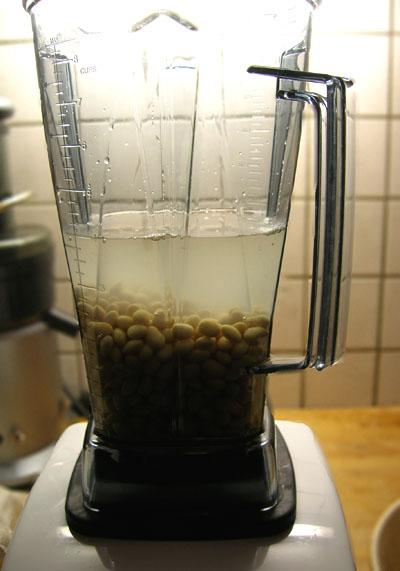
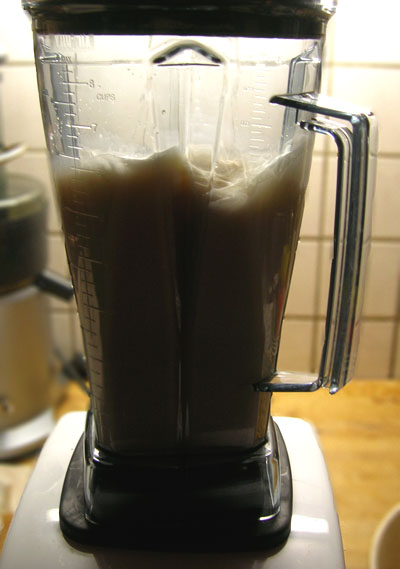
Blend each batch for about 3 minutes. You want the beans to be completely pulverized.
In the meantime get your large soup pot and set your colander inside (if they don’t fit together, set your colander in a large bowl, you just need to catch the liquid while filtering out the pulp). Line your colander with a large piece of cheese cloth or muslin.
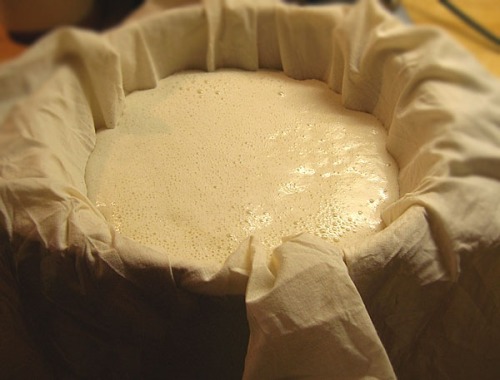
When your first batch of beans and water is finished blending, pour the resulting foamy liquid into the colander. Start your next batch of beans and water to blending.
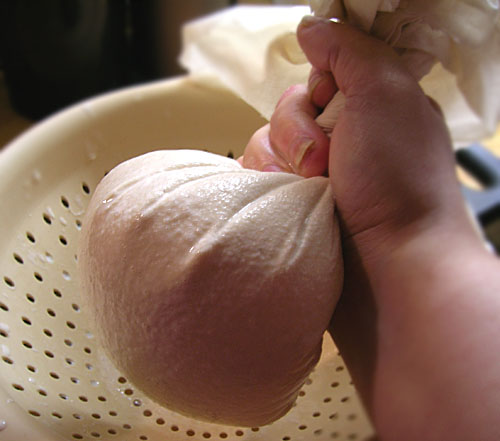
When most of the liquid has drained through the cheese cloth, fold the edges together and using your hands, twist and squeeze the remaining liquid into the pot.
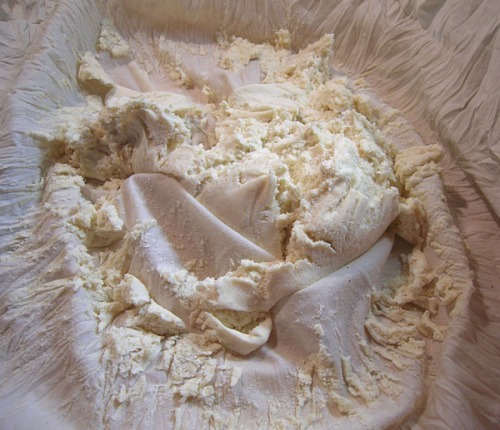
After you’ve squeezed all of the liquid out, this is what you’ll find in the cheese cloth. This is the bean pulp or fiber…it’s called okara. You can set the okara aside for now (I’ll talk more about it at the end of the article), shake it out of your cheese cloth, rinse your cheese cloth and repeat the blending, draining and squeezing until all your beans and water have been processed.
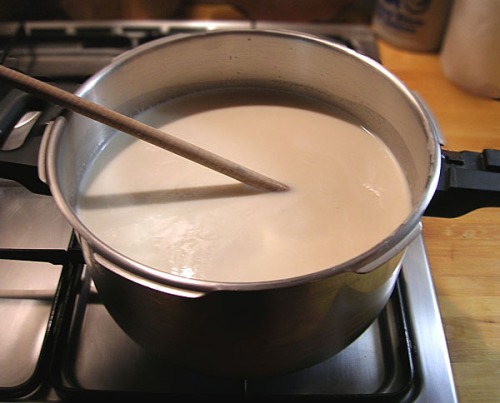
Place your pot full of liquid (you’ve just made soymilk!)) on the stove. You want to bring it to a simmer gently over med. high heat. Stir frequently or it will begin sticking to the bottom and sides of the pot.
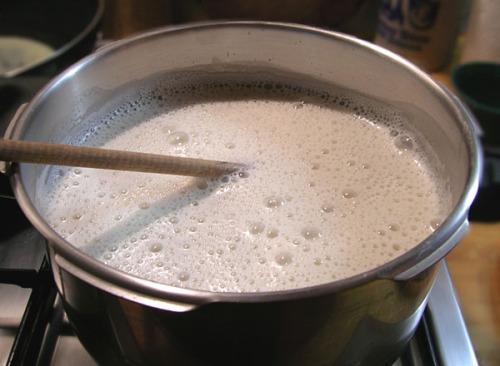
Once it reaches a nice simmer and is just on the verge of bubbling over, turn the heat down to low. You want enough heat that it continues to simmer very gently, but doesn’t bubble over. Stir frequently so it doesn’t stick and let it simmer like this for 10 minutes.
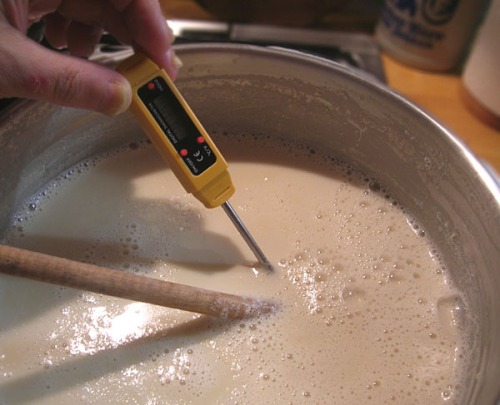
When the soymilk has simmered for 10 minutes, shut off the heat. If you didn’t want to make tofu, you could then use this liquid as proper soymilk. For tofu though, there are a few more steps. Let the liquid cool down until it reaches a temp. of 80 C° (176 F°). This will take about 8-10 minutes, check temp. often.
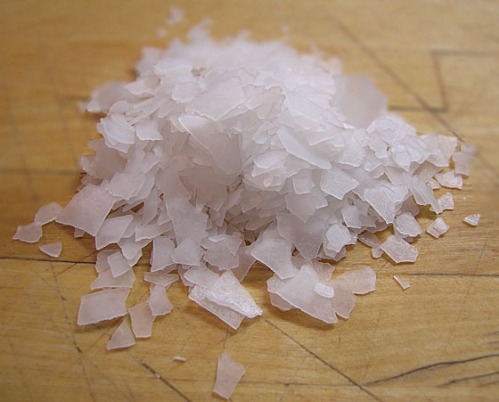
Nigari
While the soymilk is cooling measure out 2 tbls. nigari salt (or gypsum) and put it into a cup. Add 1/4 cup water to it and stir to dissolve.
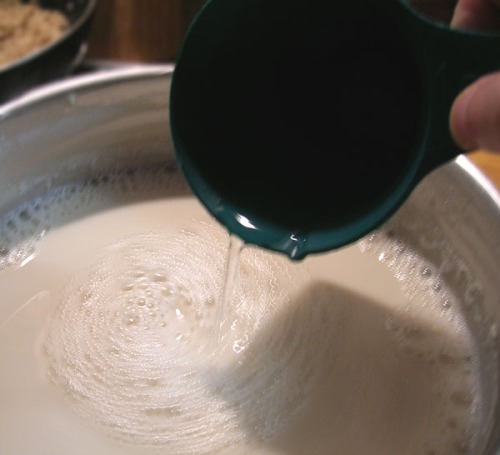
When your soymilk reaches the proper temp. pour the coagulant into it and then give it a stir or two.
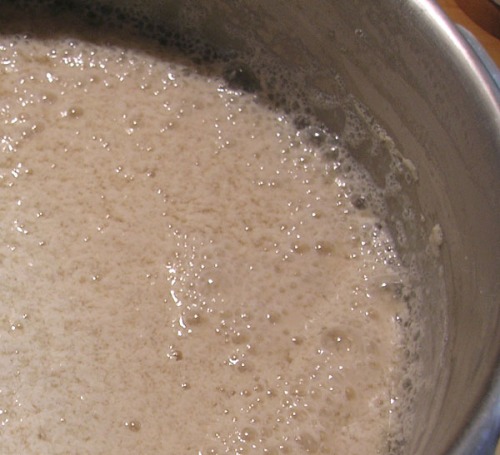
The coagulant works very fast and almost instantly you will see the curd beginning to form. Let this liquid set for 10 minutes.
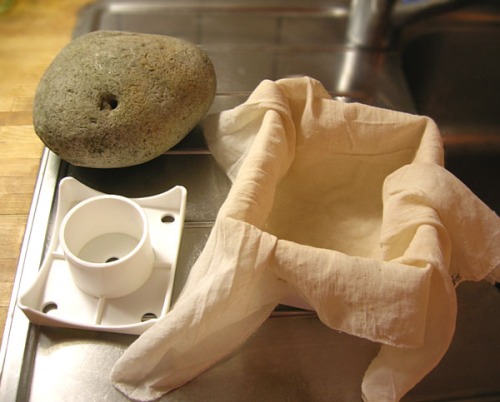
While your liquid coagulates, prepare your tofu press. I have a little plastic one. It is large enough to make a block of tofu a bit larger than 1lb (about 6oogms). Tofu presses come either in plastic or wood. I’d love a wooden one but haven’t found one in my area. Anyway, if you don’t have a press, you can use a colander, your tofu will just have an odd shape but who cares :O)
Line your tofu press (or whatever) with a piece of cheese cloth. Place the tofu press in a pan or something to catch the liquid so it doesn’t run all over your counter. I just set mine on my sink drainer.
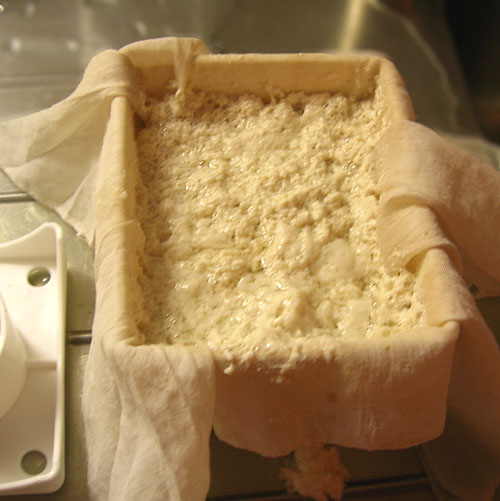
When your liquid has set for 10 minutes you can begin to pour it slowly into your press. It will appear to fill your press very quickly, but don’t worry there is plenty of room.
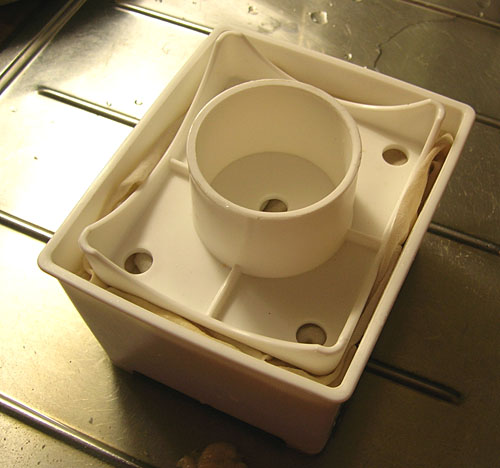
Fill the press and then fold the edges of the cheese cloth over the top of the curd, use the top of the press (or a plate or something for a colander) and press down hard to push the liquid out, add more of the curd and then stop and press again. Keep repeating this until you’ve got all your liquid into the press.
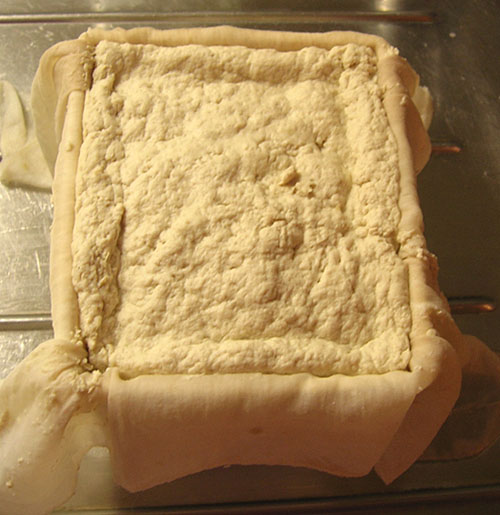
When your press is full, fold the cheese cloth over the top of the curd, place the top of the press in place and set a stone or some other weight on it (my stone weighs 4lbs or 2000gms)
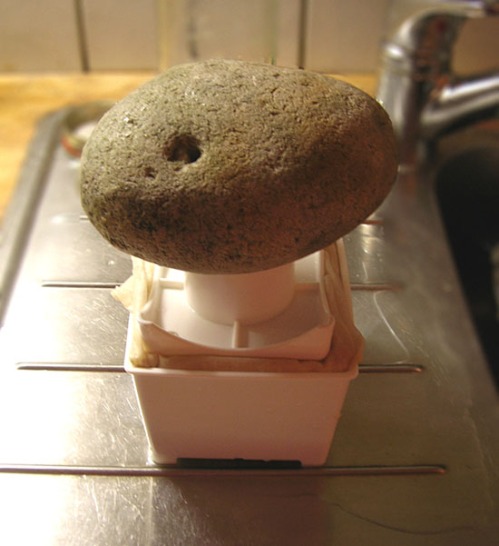
Let it set like this for 20-30 minutes for firm tofu. If you want silken tofu, you don’t really need to add weight at all, just press out the water by hand and it’s good to go.
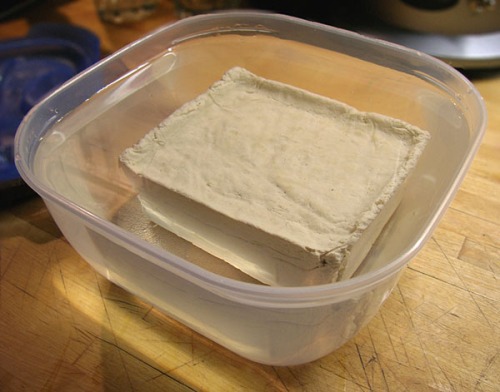
When the pressing is finished, tilt the press upsidedown into your hand and gently remove the tofu, unwrap it and place it into a container full of water. Make sure that the container is large enough to hold plenty of water, don’t crowd your tofu. Store tofu in the refrigerator. If you change the water everyday, your tofu will hold for 7-10 days, but for this the water change is critical. If you plan on eating it with in 5 days or so, you don’t need to worry so much about changing the water. You can also freeze your tofu. I have never tried frozen tofu, but I have heard that some people actually prefer it this way, they say it gives the tofu a firmer texture, but it also changes the color to a darker yellowish color? I have no idea, since I’ve never done it.
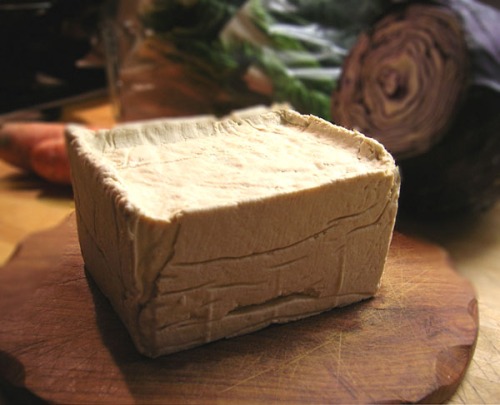
A finished block of homemade tofu! Enjoy!
A few words about Okara…
Okara is the fibrous pulp that is left over after the soymilk is squeezed out of the pulverized bean/water mixture. It can be used for cooking, it makes a great filler in certain recipes, it is great for the compost pile (which is what I usually do with it! Here’s the nutritional breakdown for Okara. It’s fairly nutritious so I encourage you to try cooking with it. I don’t have much experience in this area so I will refer you once again to SusanV at FatFree Vegan Kitchen, who has been experimenting with what to do with all that left over Okara! If you search the web you’ll find other recipes for it as well.
Update: I just found a fantastic blog dedicated specifically to discovering recipes and other uses for okara! It’s appropriately titled Okara Mountain, have a look it’s fascinating!


